 四四的军火库
环境
| 环境 | 版本 |
|---|---|
| php | >=7.3 |
| nginx | >=1.17 |
| mysql | 5.x |
| redis | ☑️ |
安装
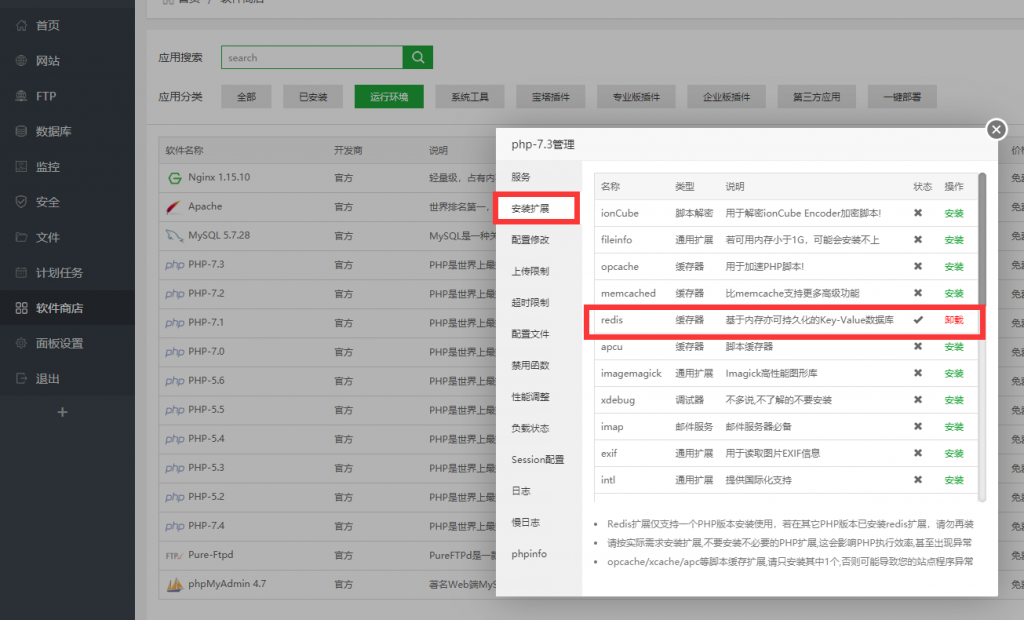
首先在宝塔面板上安装php7.3
装一下这个拓展
然后找到这几个禁用函数 从列表中删除。
putenv proc_open pcntl_alarm pcntl_signal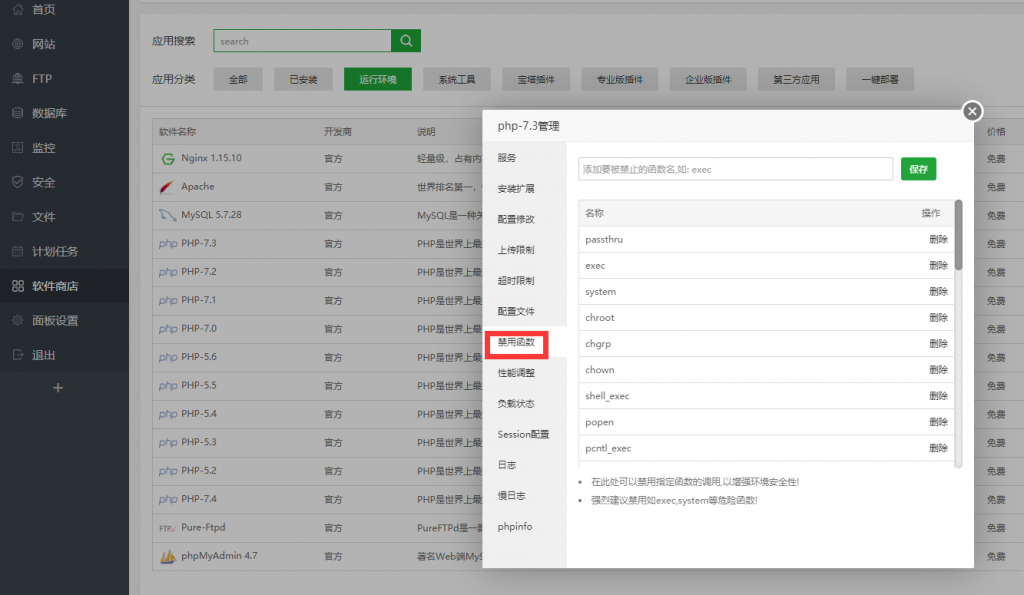
之后我们新建一个站点,把目录里的几个文件都删掉
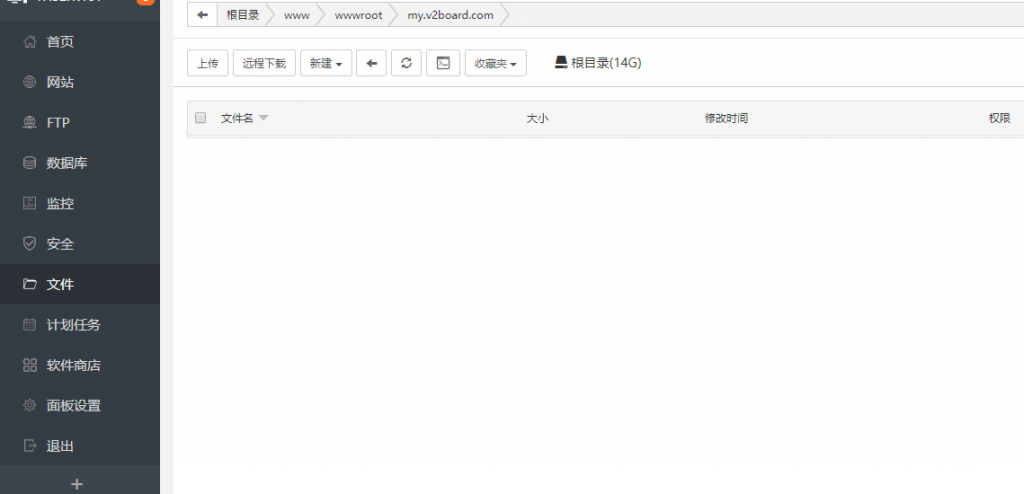
接着我们连接到服务器上,切换到网站目录下
cd /www/wwwroot/my.v2board.com执行命令从 Github 克隆到当前目录
git clone https://github.com/v2board/v2board.git ./
执行命令下载 composer.phar 到当前目录
wget https://getcomposer.org/download/1.9.0/composer.phar
执行命令进行包安装
php composer.phar install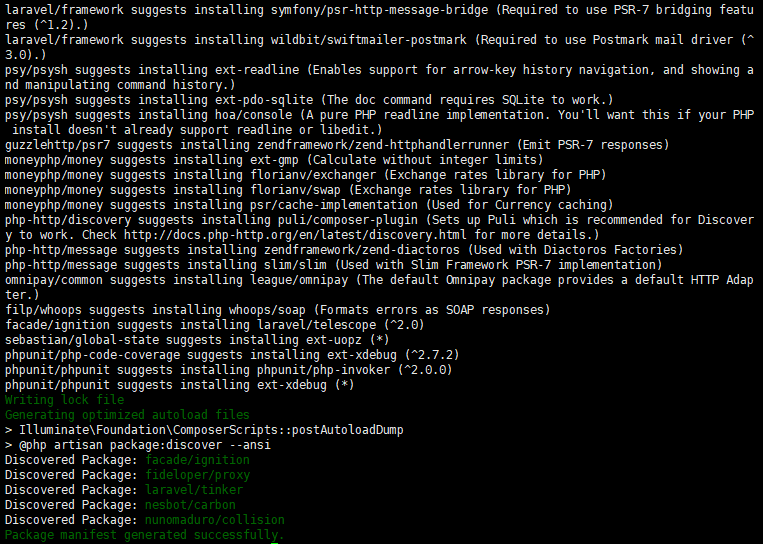
这里如果是低配的小机可能很卡,要等很久
安装过程中报错或者无法继续安装的请分配 swap
配置
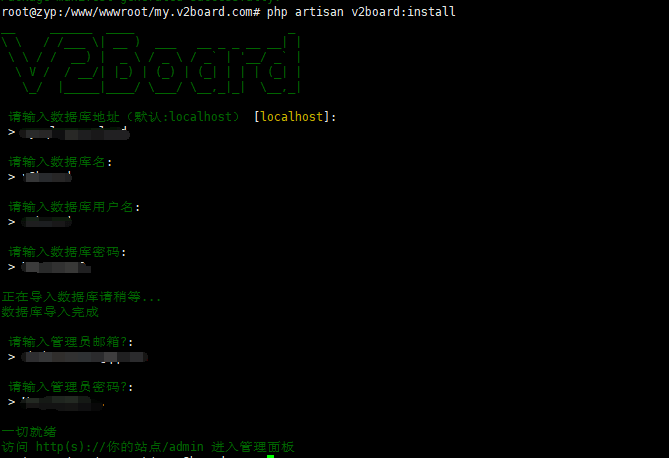
执行命令安装V2board
php artisan v2board:install根据提示设置数据库和管理员账号
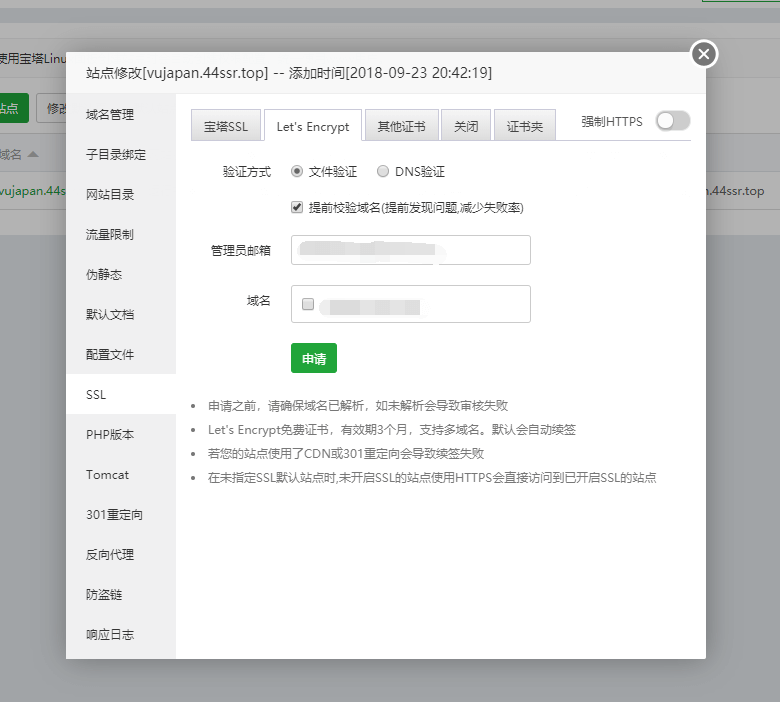
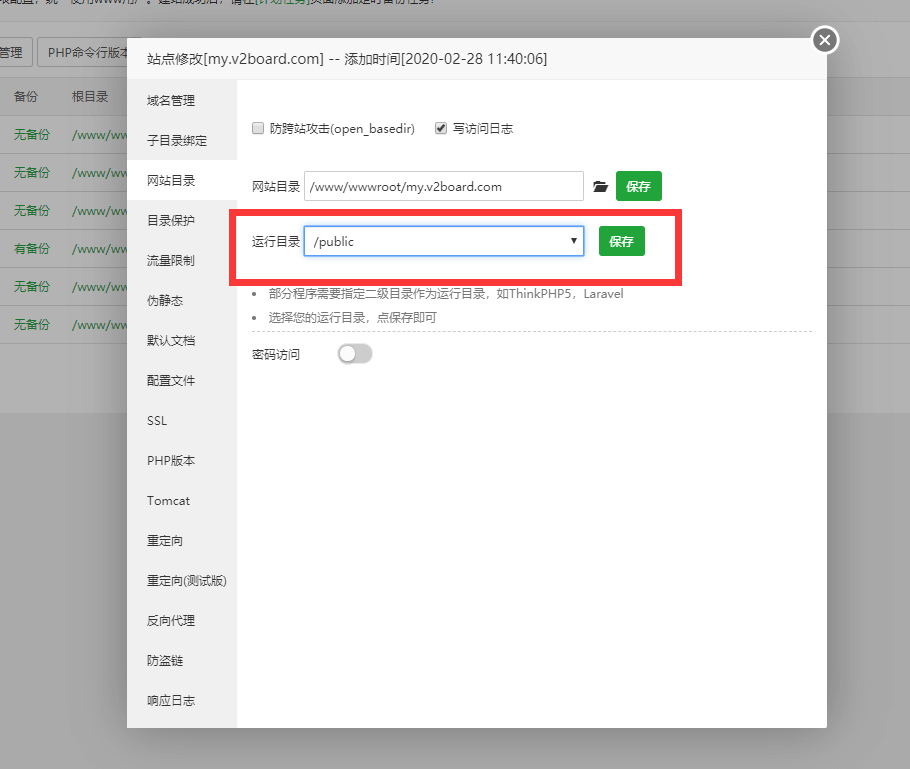
然后编辑添加的站点,网站的运行目录选择 /public 保存
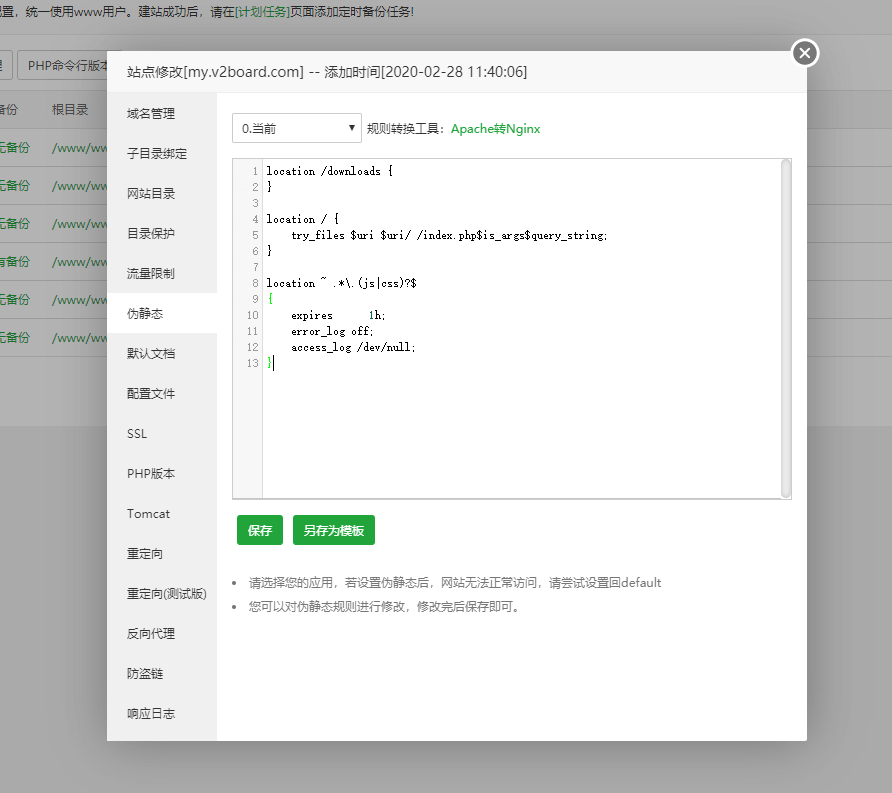
然后设置下伪静态信息并保存
location /downloads {
}

location / {
    try_files $uri $uri/ /index.php$is_args$query_string;
}

location ~ .*\.(js|css)?$
{
    expires      1h;
    error_log off;
    access_log /dev/null;
}
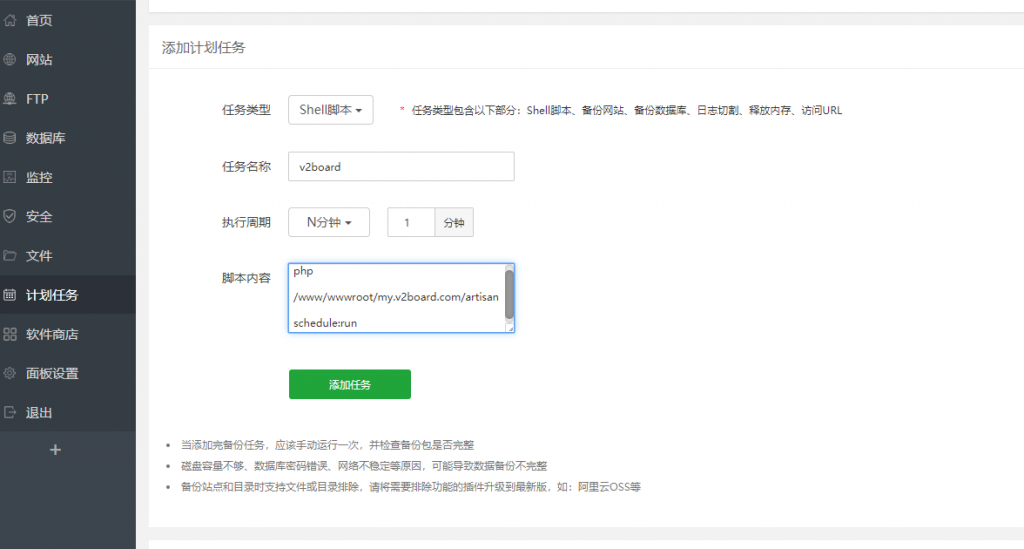
然后添加一个一分钟的定时任务
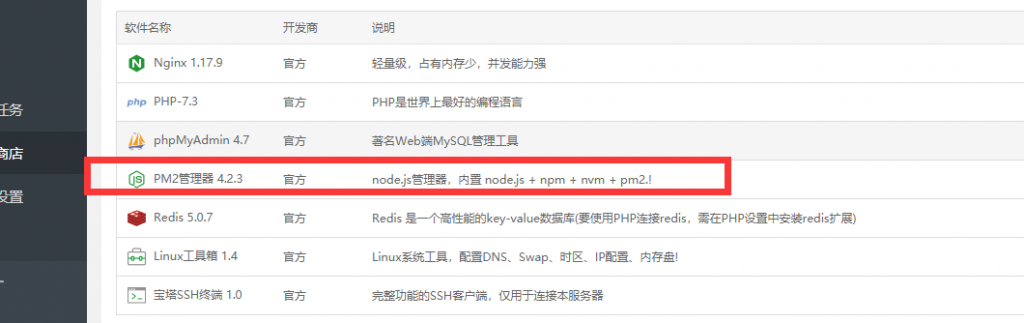
V2board的邮件系统强依赖队列服务,你想要使用邮件验证及群发邮件必须启动队列服务。所以这里安装下 PM2 Manager
安装完点设置,按如下填写后保存
Project root directory 选择站点目录
Startup file name 填写pm2.yaml
project name 随意填写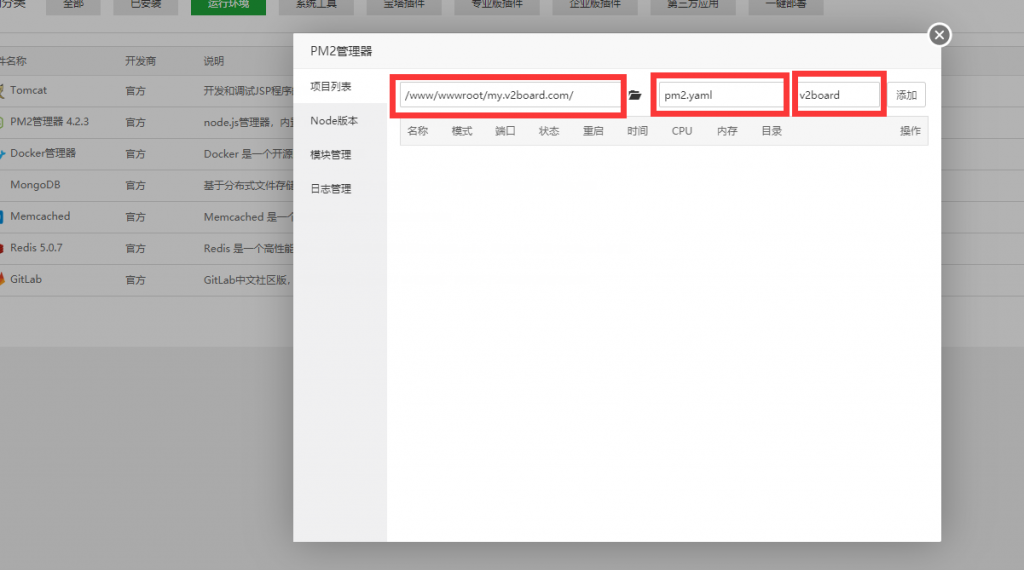
最后把网站目录下的文件权限改成755
现在,你就可以访问域名/admin访问后台啦~