 四四的军火库
ISO下载
官方提供ISO 下载,这使得安装变的非常简单
https://www.proxmox.com/en/downloads
请按自己的需要进行下载对应的ISO档案
安装
1. 将ISO写入光盘或是制作到U盘启动盘上(制作方法自行百度)
2. 服务器BIOS设置为光驱引导启动(不会的自行百度或是厂商技术支持)
3. BIOS里打开虚拟化选择并启用
4. 开机,由光盘启动
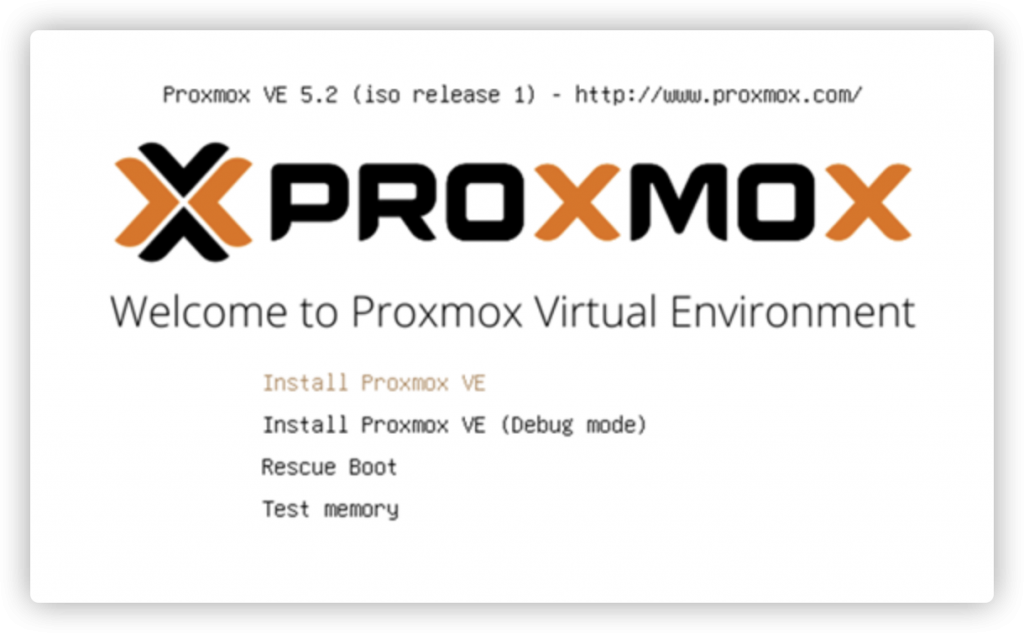
5. 进入如下界面,选择“Install Proxmox VE”
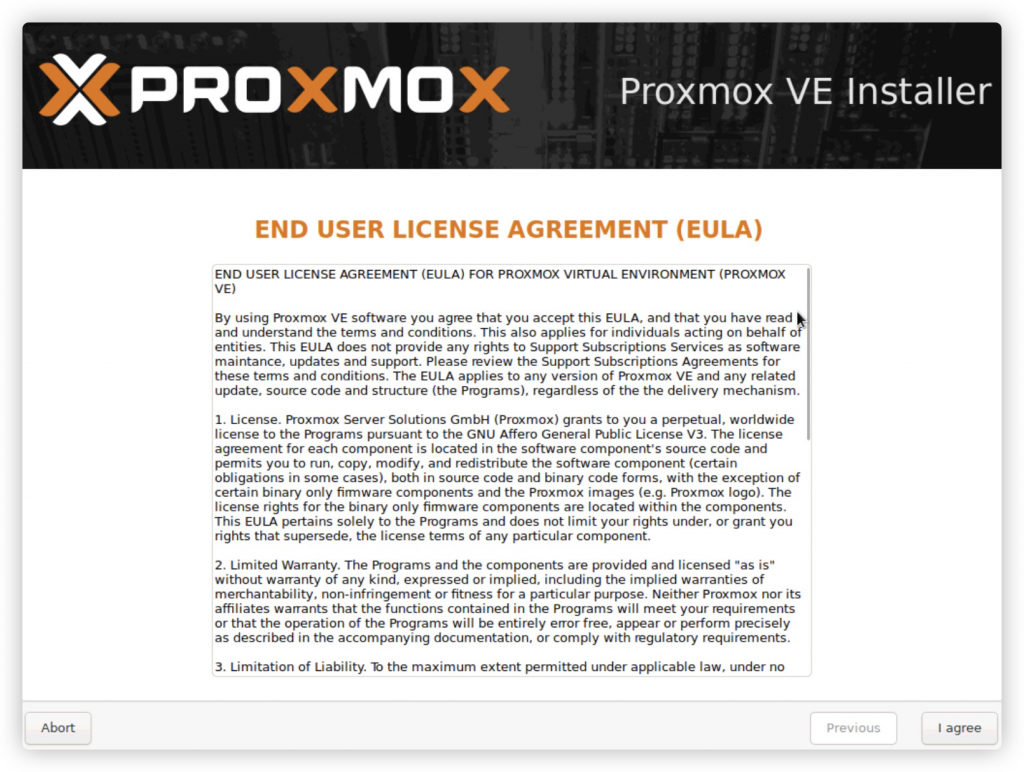
6. 选择“I agree”
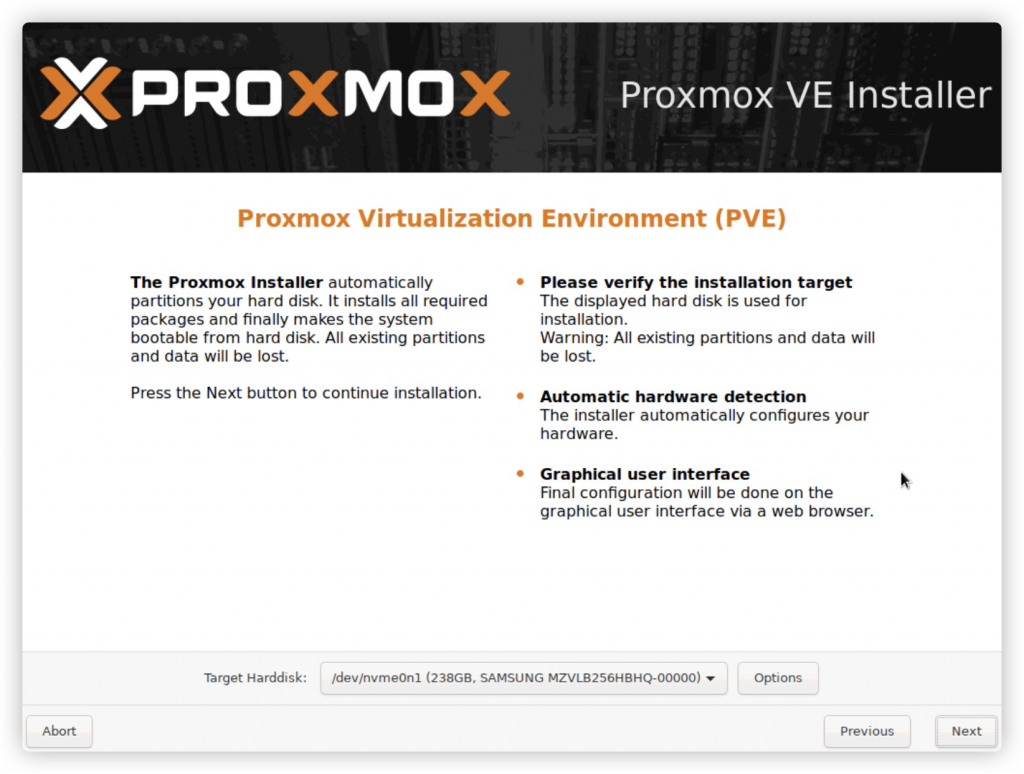
7. 此处如果需要自行分区,请选择“Options”,这里就不分了,选择“Next”
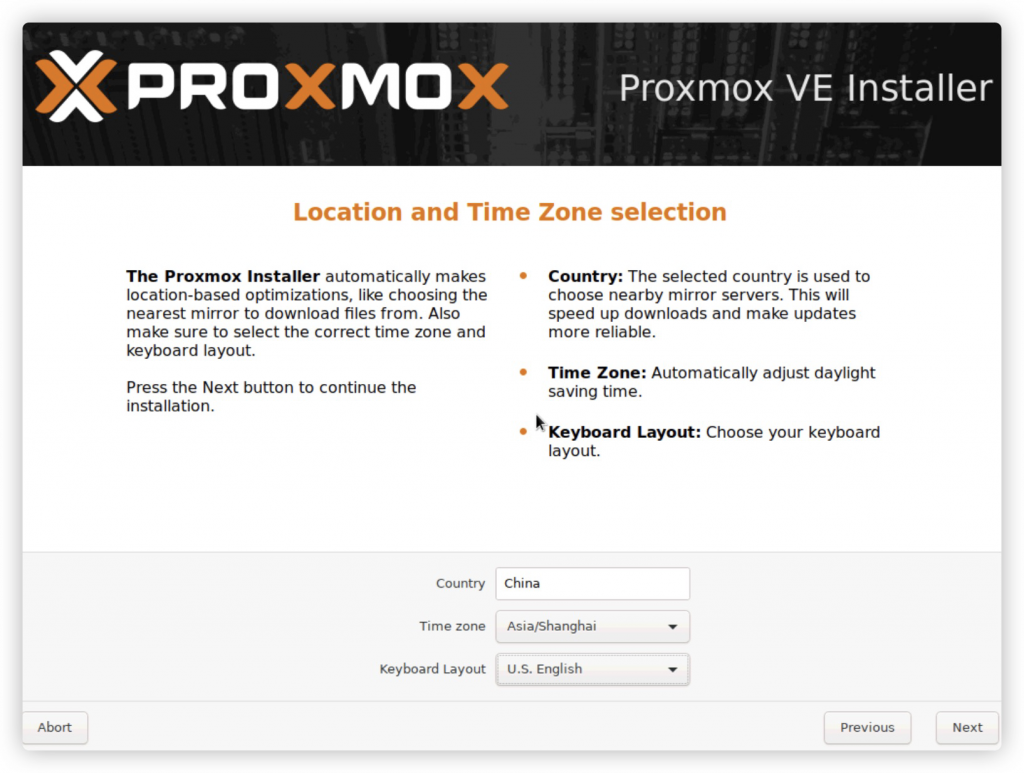
8.国家和时区,“china””asia/Shanghai”,点击“Next”
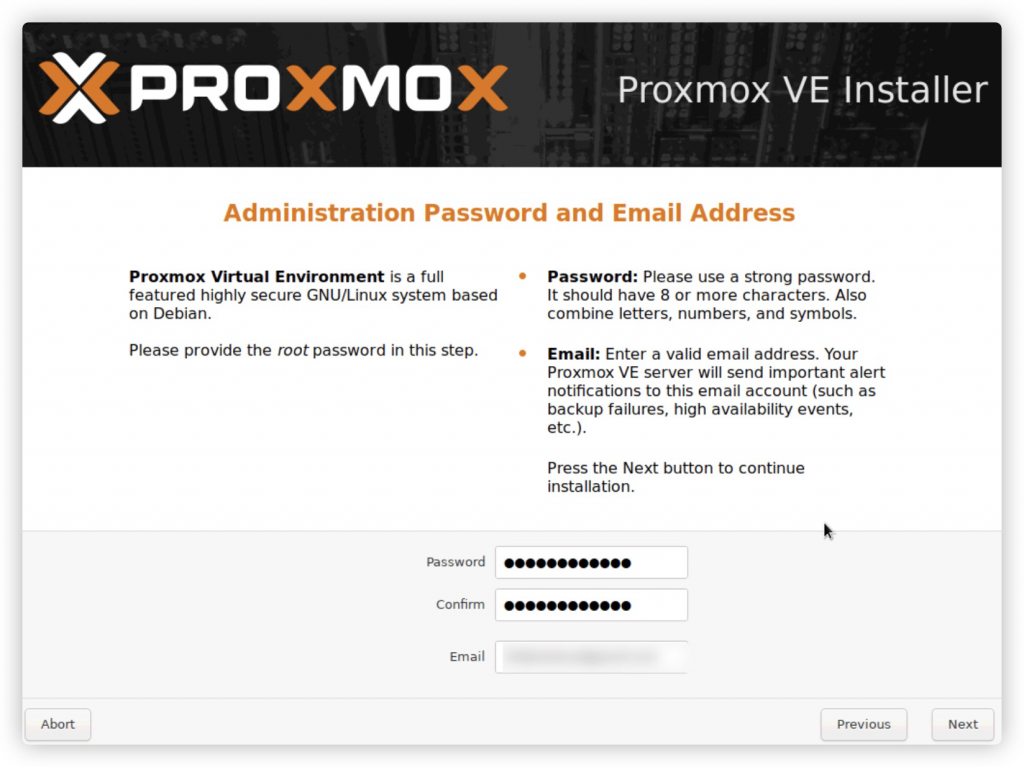
9. 设置系统密码(即为root密码),还有邮箱,点击“Next”
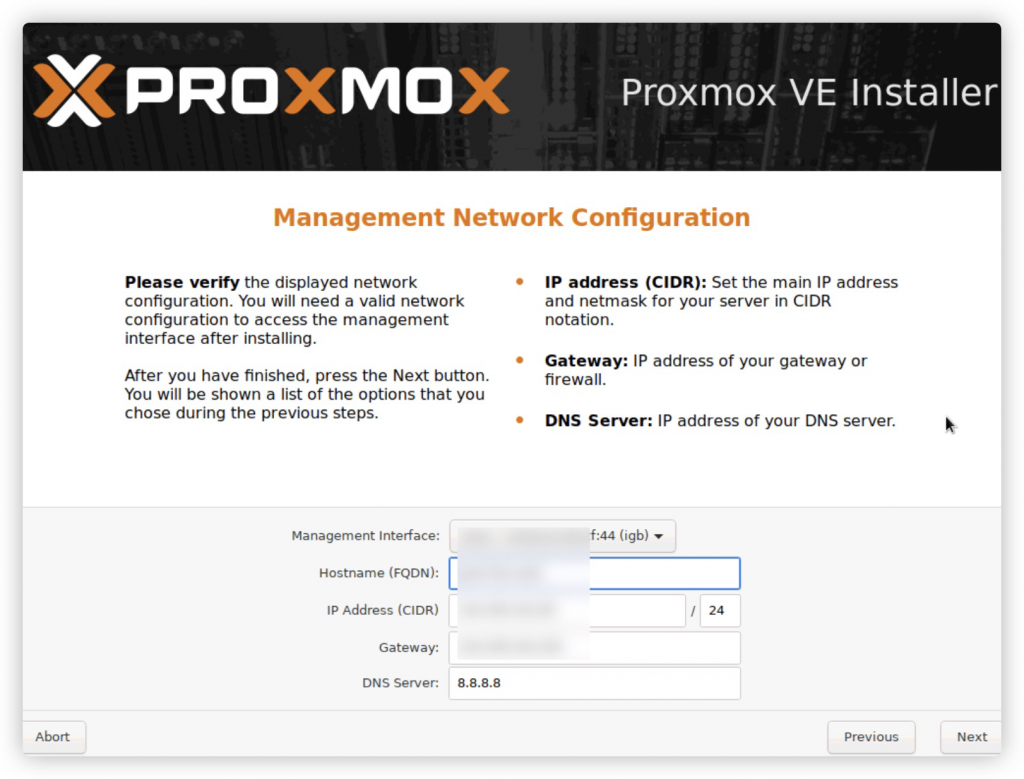
10. Management Network configuration
网卡选择(多网卡请规划好使用哪块网卡)
FQDN格式为 nodename.XX 之类
IP地址,掩码,网关及DNS按你所处的网络配置
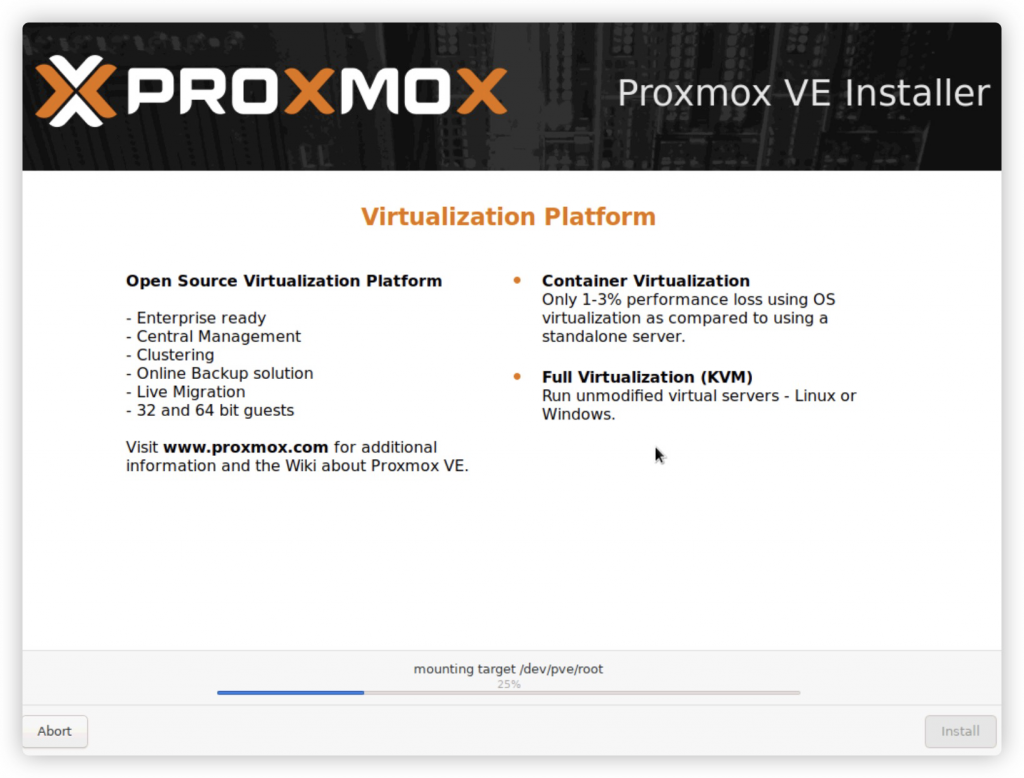
11. “Next”开始安装
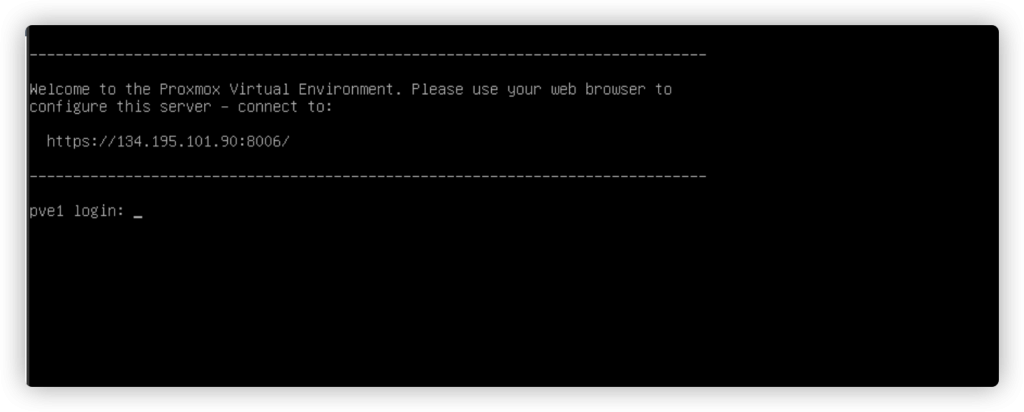
12. 安装完成,“Reboot”重启服务器。(记得取出光盘)
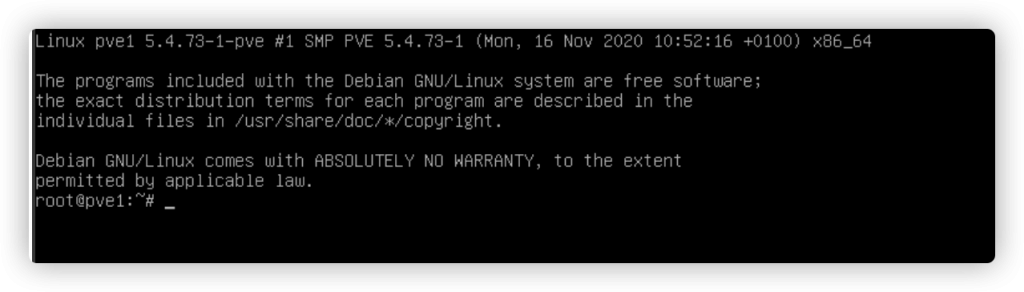
13. 启动完成,输入用户名root及设置好的密码即可进行系统